

Make this easy, fun and simple family namesake sign to hang in your home!
Instantly give any room in your home a farmhouse or rustic feel to it with this sign!
This is by far one of my favorite DIY projects that I have completed! So since I am in the process of revamping my house style into farmhouse/rustic decor, I HAD to have a wooden sign! No farmhouse or rustic environment is complete without one. The only problem was, I REALLY didn’t want to spend upwards of $30.00 just to get a custom sign made.
This post may contain affiliate links. I may earn compensation when you click on the links; at no additional cost to you. Please see the disclosure policy for more information.
Ever since my first DIY project was complete, I am always on the lookout for odd pieces of wood, scrap metal, old lamps; anything that I can make my next project. My poor husband knows somethings brewing when I’m scrolling through my phone too long without saying anything, and I suddenly blurt out…I have a new project!!! About two weeks ago, as I was making my way to my garage to do laundry, I saw a few scrap pieces of wood just sitting against a wall. The first thing I did was call my husband at work and told him that whatever plans he had for the scrap wood in the garage were over. His response…”Oh, man what now”? Think he may be getting tired of my endless ideas?…Well that’s just too bad!!!
What you’ll need for your sign
I did some serious research on the easiest, cheapest, and fastest way to make my own personalized sign. I used a combination of ideas I found by doing a search, and found what was the best idea for me personally. First, I needed to chose my scrap piece of wood. It’s important to consider exactly what your phrase will be, and how large you would like your letter to be. (Check the end of the post to see a complete list of all the materials needed).
1. Choose the right size wood
I know that since my last name is Jackson, I would need a fairly long piece of wood. I also wanted larger letters, so the width of the board was important as well. The wood I chose was 5 1/2 inches by 42 inches.

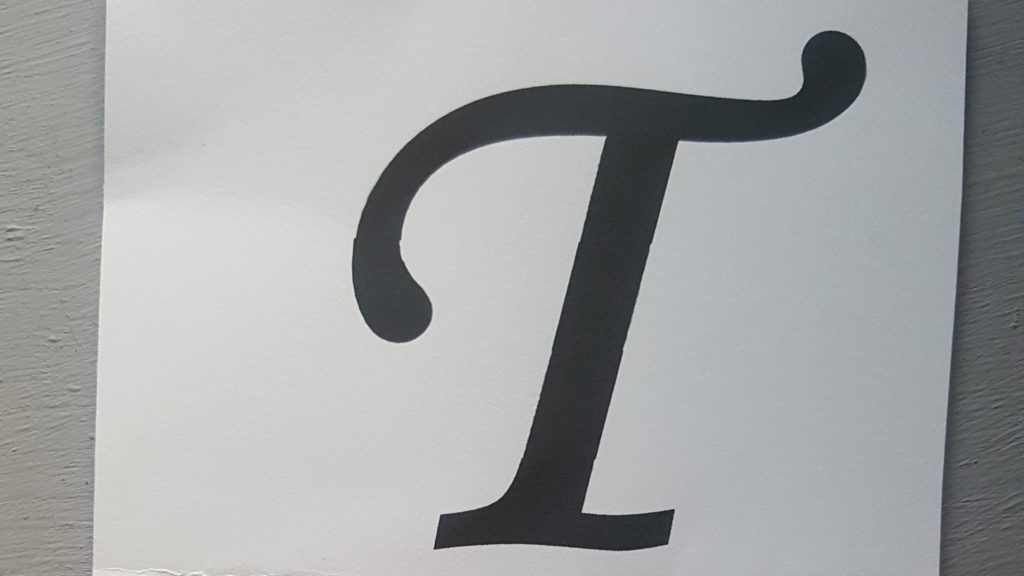
2. Choose the font you want for your sign
Before I get to the actual application of the letters, it’s important to figure out what style and size letters you want. I wanted my sign to completely fill my wood piece, so I chose Monica Corsiva font in size 250. I used a word document to create the letters, and printed them on cardstock, so they would be durable. I personally wanted the letters to be stencils, so printing them on cardstock was the obvious choice.
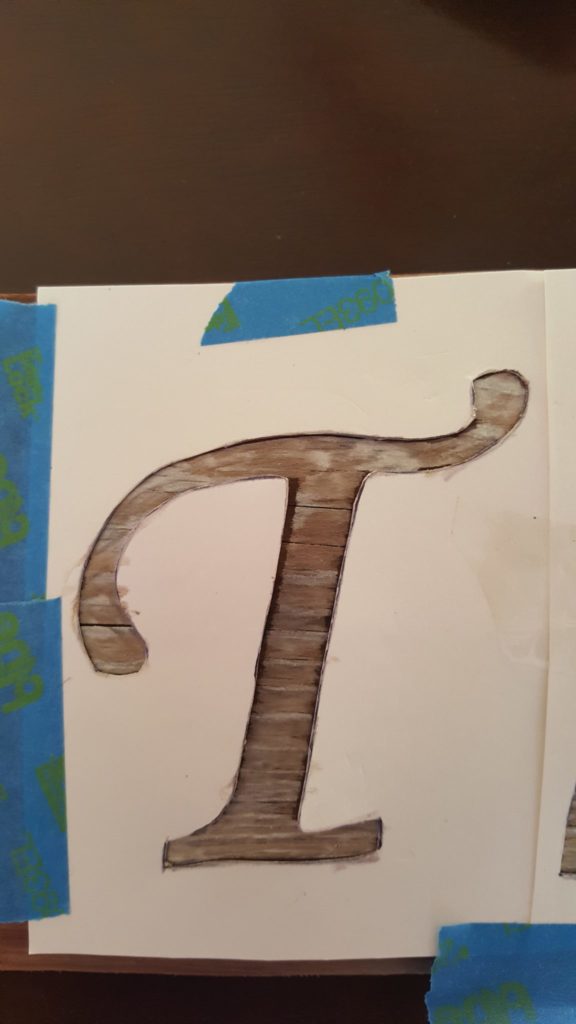
3. Cut out your letter stencils
Since I wanted to use the letters as stencils, I cut out each letter with child sized scissors. You could probably use and X-Acto knife, but I am comfortable and used to cutting with child sized scissors, and I had some available, so that’s what I used! 🙂

4. Prep the wood
You’ll want to clean your wood before using it. I like using Murphy’s Oil soap with a bit of water to clean my wood pieces. I would also recommend sanding your wood a bit if needed.

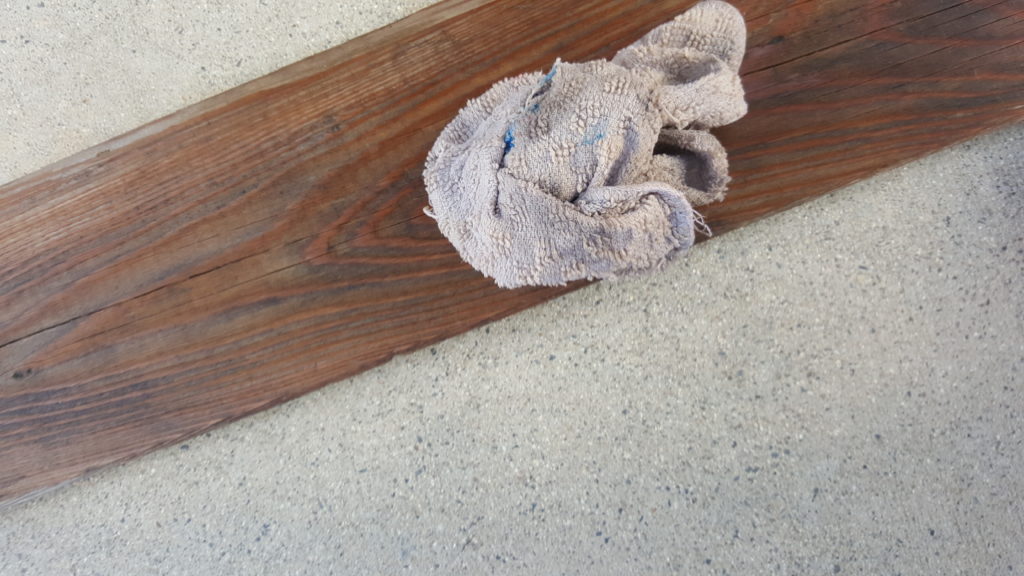
I then began to prep the wood. First, I cleaned the wood using a wet cloth and Murphy’s Oil Soap. If you don’t have Murphy’s Oil Soap, warm water and soap should do the trick. I let it dry for about thirty minutes.
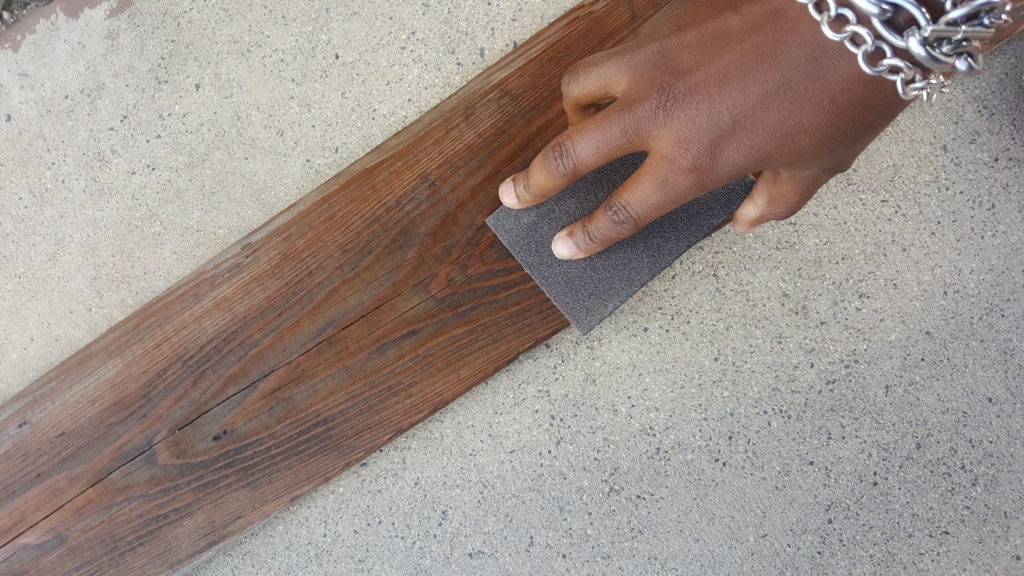
After letting it dry for thirty minutes, I sanded the wood with a sand block. I sanded the sides and edges as well, just enough to make sure my painting surface was smooth for the application of the paint.
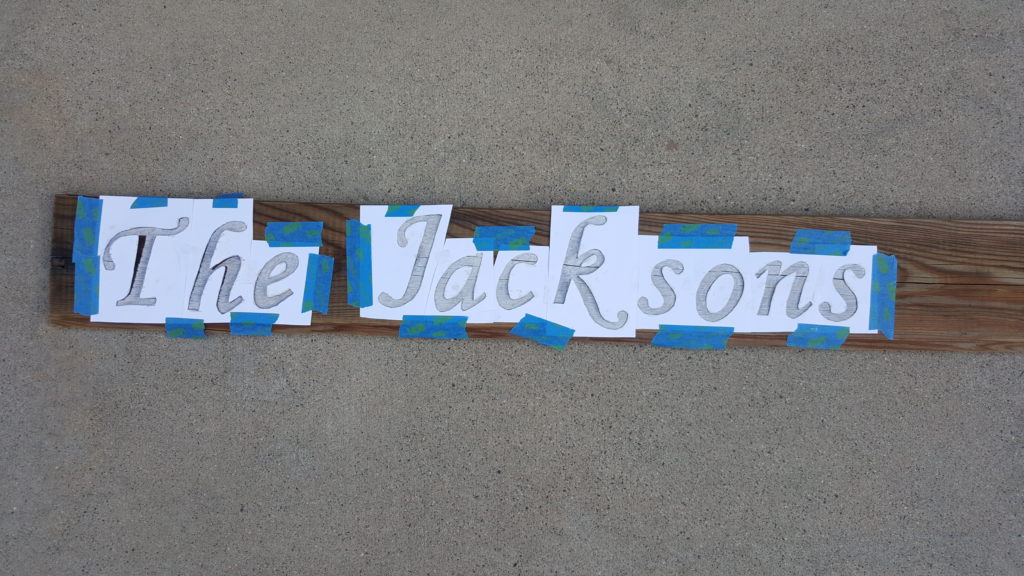
5. Apply your stencils
Now, for the application of the letters! I placed each letter where I wanted them on the wood, and then I taped each letter together using box tape. After taping each letter together, I then taped the entire stencil to the wood.


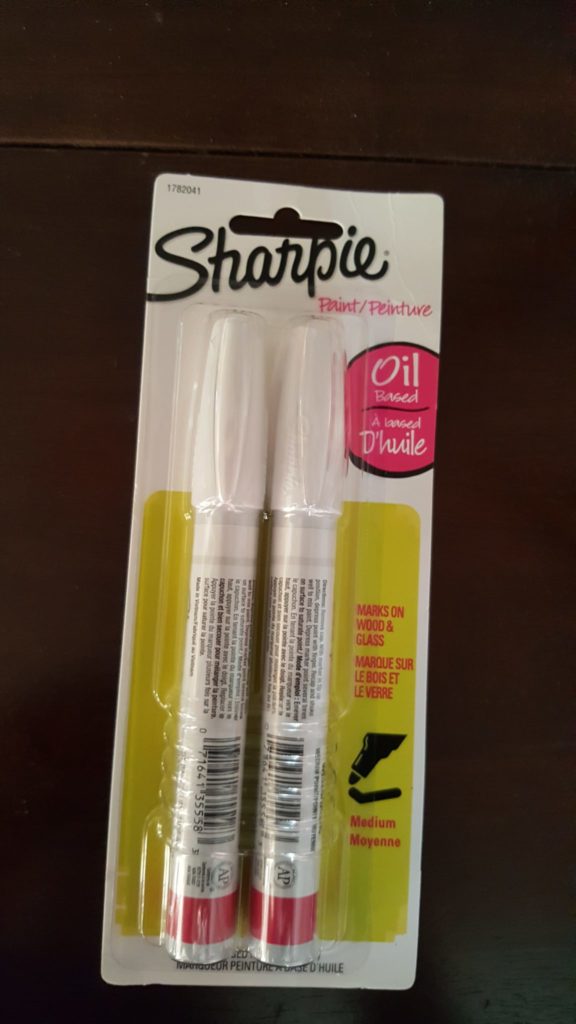
6. Time to paint over your stencils
Time for the paint! There was no way I could use a paint brush and paint for this project, so I was so happy I found these AMAZING Sharpie paint pens from The Home Depot, which made it so easy for me to stay within the stencil lines. These paint pens made the application so easy! I initially applied one coat of the paint from the pens. It was very easy, just like coloring…and I love coloring!
The applied two coats to each letter before moving on to the next letter. I noticed that the wood soaked up the paint, so depending on what type of wood you use, adjust accordingly. I ended up applying five coats of paint to each letter to get the desired look. Again, depending on how you want your sign to look, you can either apply more or less coats of paint. I only used one paint pen to make this sign, and it still has paint in it! Score!!
I then removed the stencils, and my sign was done!
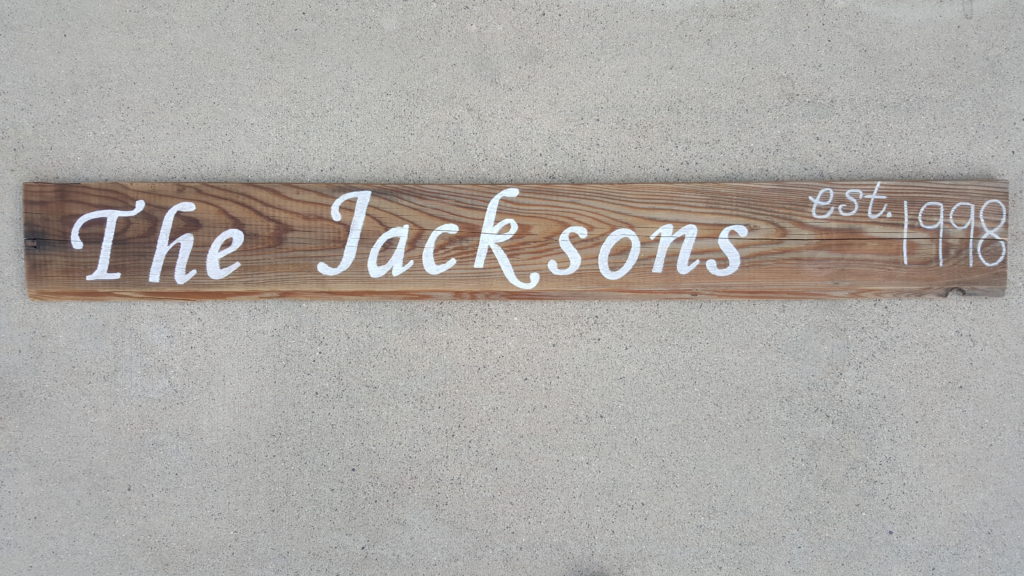
I wrote the “est. 1998” by freehand to complete my sign. That’s when we got married, and I LOVE how it turned out! This was really very easy and didn’t take long at all. I am definitely going to be making another sign, and will hopefully get better and quicker at making them.
Interested in making your own family namesake sign?
Here is the list of materials and supplies needed to complete this project:
-scrap wood
–Murphy’s Oil Soap (optional) soap and water should work
-sand block
-stencils (bought or make your own)
–X-Acto knife or child sized scissors
Obviously you can customize this project in any way you’d like. I have always wanted a name sign, so this was the perfect project for what I wanted.

Looking for more of my DIY projects? Feel free to check out How to make a DIY farmhouse photo holder using a flat mason jar lid or How I transferred this dresser for under $60 in one weekend. I’m just getting started with the Momtessorian Makeovers, and I hope you’ll stick around to see what I have up next!
Happy makeovers!
Anitra J.


What a fabulous idea! I love how you’ve done this, and your step-by-step instructions are great! Thanks so much for sharing this post!
Thanks Flossie! It was so easy and fun to do!
What a beautiful sign and great idea! I can’t wait to try this 🙂
Thanks Rosie! I love how it came out, and it was so easy!
I love how you kept it simple and didn’t overcomplicate it pulling out the power tools! <3 May be stealing after the holiday rush. 😉
Thank Jess! I’m all about keeping it simple and easy!
SO cute, I love this! What a sweet personalized idea – I bet it would be so cute as bridal shower gifts too!
Thanks Amanda! It would great for any type of gift!
Looks sweet and fun that you made it yourself. Love the look of it. Thanks.
What a wonderful idea- this would also make a great Christmas present!
I love the fact that his project is easy and affordable. IfI bought this somewhere else it would cost me so much. Plus it makes a great DIY Christmas or Housewarming gift.
It is beautiful! So easy..now to find extra pieces of wood. 😉
This is such a fun DIY to do. The step-by-step instructions are very easy to follow, and the pictures are great! I will have to try this soon 🙂
That was so easy! I may just try it for myself!
That is awesome! And so easy to make too. I may have to give this a try at our new home.
What a lovely piece! It looks great especially considering you used scrap wood. Great project, and definitely doable for me.
Such a great post and I want to do something like this for our house in the Poconos! It came out beautifully!