A fun and easy way to learn about colors!
Teach children about primary and secondary colors with this Montessori activity!
I received a free product from Montessori Services to provide an honest review of this product. All opinions expressed are my own. This post may contain affiliate links. I may earn compensation when you click on the links; at no additional cost to you. Please see the disclosure policy for more information.
When I was a classroom teacher, I had ordered numerous Montessori materials and supplies from Montessori Services for different areas of my classroom. They have a great selection of products for your classroom, and if you are a parent interested in implementing Montessori materials and methods at home, For Small Hands has great products as well. They have a large selection of Montessori materials and products, from the traditional areas of a Montessori classroom; like Practical Life, Language, and Math; to supplemental products such as books, music & movement and art. I had in the past constructed a similar color mixing activity as a Practical Life work in my classroom, so I was more than excited when I had the chance to use the Color Mixing Activity Set from Montessori Services in my classroom!
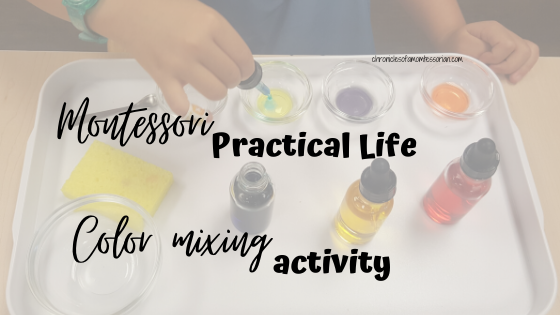
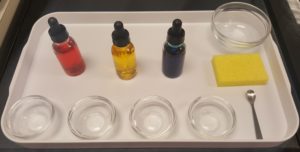
The Color Mixing Activity Set includes:
- 1 large plastic tray
- 3 glass eye droppers
- 3 clear glass bottles
- 4 small glass bowls
- Tiny salt spoon
- Red, Yellow and Blue food coloring
- 1 medium glass bowl
- Sponge
- Presentation Suggestions
Set Up and Steps:
The setup:
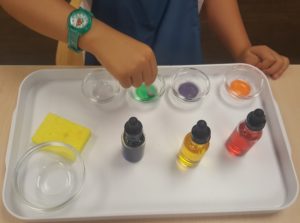
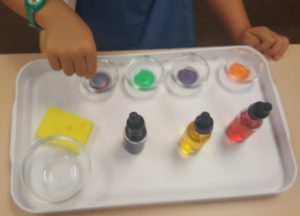
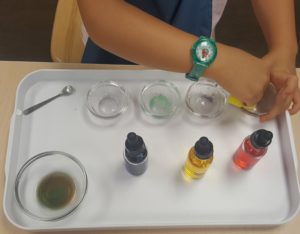
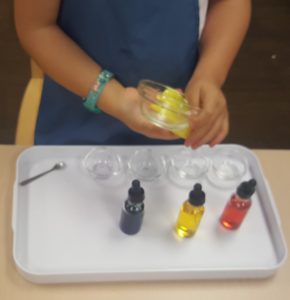
Using the Presentation Suggestions, prepare the work as instructed. Fill the clear glass bottles with water up to the neck of the bottle. Add a few drops of red, blue, and yellow food coloring into each glass bottle, put the caps on, and shake up. Next, set up the tray as instructed; following the Presentation Suggestions.
You can give the initial lesson to one or a group of children, following the steps in the presentation suggestions. Once the initial lesson is given, the work can then be available for children to use on their own. During the initial lesson, if needed, I would recommend introducing any items in the work that your child may not be familiar with. I would also recommend using correct terminology when demonstrating the work; I go into further details on this below. Young children are sponges, and hearing and learning new vocabulary and words is an important part of their language development.
Things to consider
If your child is not familiar with using some of the items that accompany the activity, it would be ideal to introduce them and demonstrate how to use them. Things like how to use an eyedropper or how and when to use a sponge, are important components of a child successfully completing the work independently. I would be sure to spend time going over how to use each of these. Be sure to use and explain vocabulary words and explanations in your initial lesson, as they are equally important.
- You can ask what colors are in a rainbow to get ideas flowing
- Then explain how there are primary and secondary colors
- Explain that primary colors are red, yellow and blue
- Explain that secondary colors are orange, purple and green
- Explain how you will use the primary colors to make the secondary colors
- Ask open ended questions-ask for their input as to what color they think each mix will make
- Make and color in a color wheel as an extension of the color mixing activity
Related post: Bubble Making…a fun & easy Montessori Practical Life activity
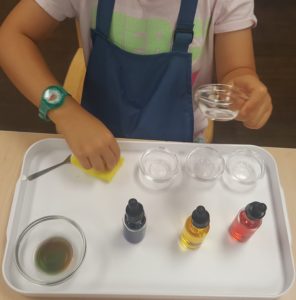
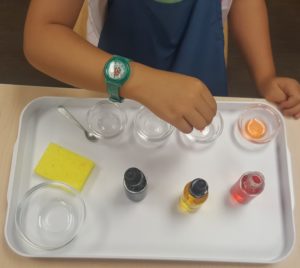
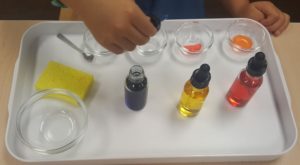
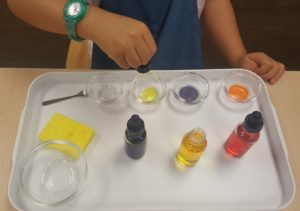
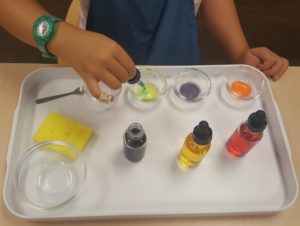
Below are the step by step instructions of a child in my classroom completing the color mixing activity.
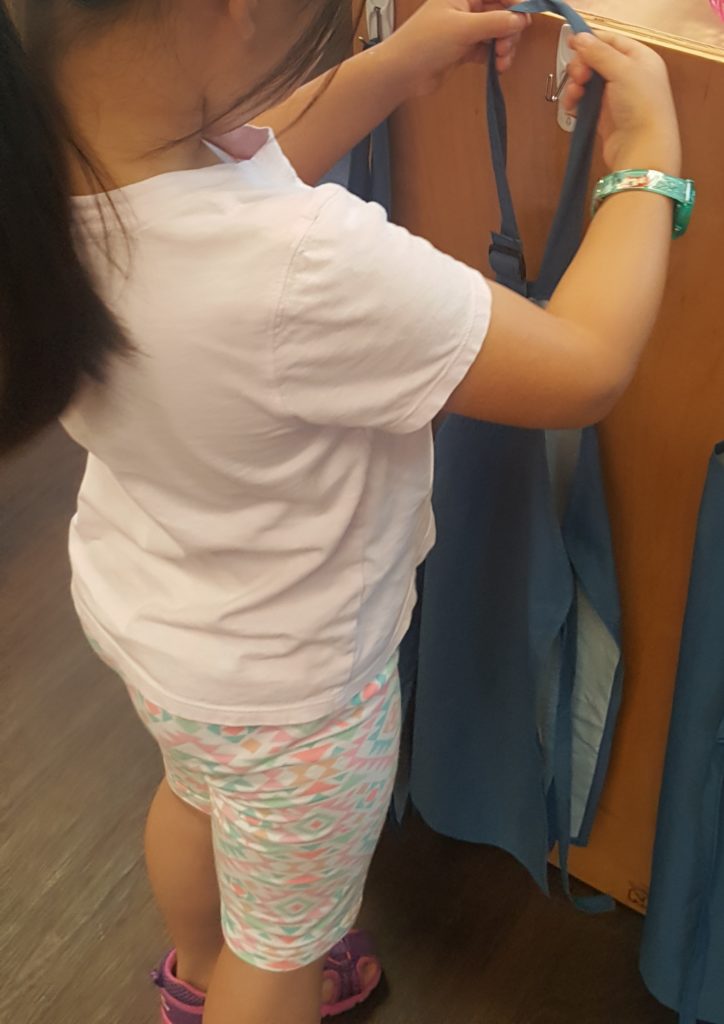
1. Get an apron. I was trained to have children use aprons when doing water/washing work or food preparation work.
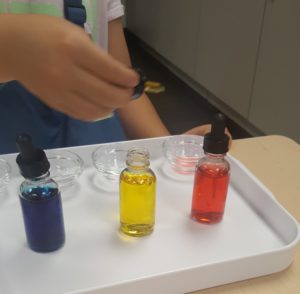
2. Use the eyedropper and put red water into the first bowl.
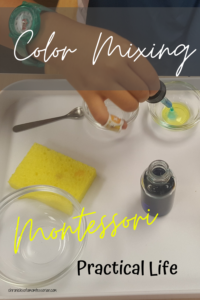
3. Next, use the eye dropper to mix yellow water with the red water.
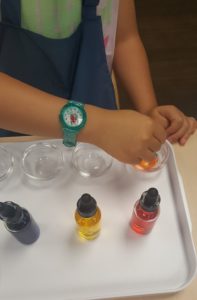
4. Using the tiny spoon, mix up the colors to get the secondary color orange.
5. Use the eyedropper and put red water into the second bowl.
6. Next, use the eye dropper to mix blue water with the red water.
7. Using the tiny spoon, mix up the colors to get the secondary color purple.
8. Use the eyedropper and put yellow water into the third bowl.
9. Next, use the eye dropper to mix blue water with the yellow water.
10. Using the tiny spoon, mix up the colors to get the secondary color green.
11. The fourth and final small bowl can be used for experimenting. This gives children the opportunity to choose to make any secondary color they choose!
The Clean Up:
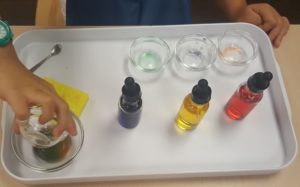
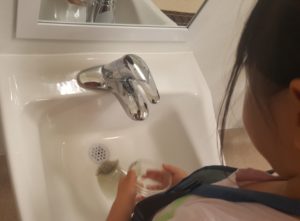
1. Pour all of the contents from each of the small glass bowls into the larger glass bowl.
2. Use the sponge to wipe out each of the small glass bowls.
3. Wipe off the tray if needed.
4. Pour out the contents of the larger glass bowl.
5. Using the sponge, wipe it clean. The work is complete!
Related post: Why your toddler or preschool child should be using glassware
In conclusion
This work was so fun! It was always one of the classroom favorites if I had it on the shelf in my class. One of the great things about this activity is that EVERYTHING that you need to complete this work and teach children about color mixing and primary & secondary colors comes with the work. You don’t have to purchase anything else to go with it; unless you choose to use aprons; which I strongly suggest.
The work is very durable, and I liked that most of the items used in the work are glass. If you’ve been following my other posts, you know how much of a fan I am of young children using glass. This complete Color Mixing Activity is a good work for use in any classroom, home school, or for a parent looking to incorporate Montessori materials in their home!
Have fun with it, and let your child experiment as well!
Anitra J.


Fun! How neat!
Hi Cerin! The children had so much fun with this activity, and so did I!
I love that you’re teaching colors this way, but I also love that the child is doing the cleanup! Two lessons in one!
Hi Kelly! Thanks, yes in a Montessori classroom, the children always participate in cleaning up, it is part of the philosophy.
This looks super fun…even for me! 😉
Hi Lisa! Trust me, I had so much fun introducing this lesson to the children in my class!
This is great! My girls love anything with mixing colours. We usually stick to play-doh but we may have to try liquids.
Hi Rachel! It’s fun and it’s not permanent like mixing playdough!
What a great activity! I kind of want to do it, too. 🙂 It’s great when you can get kids really interested in something. I teach high school, and half of the battle is getting their attention. In fact, I’m heading back to school Monday. Where did summer go?
Hi Stacey! That is why I love teaching the younger ones! It’s easier to get and keep their attention.
Looks like so much fun!
Hi Shelanda! It was fun, I enjoyed it just as much as they did!
this looks like alot of fun and my kids would love it!
Hi Nicole! The children really enjoyed the hands on aspect of this activity!
This is a great way to teach children about mixing colors! Very clever!
Hi Sheree! You have to have clever ways to get the attention of younger children.
What a great way for them to learn about colors!
Hi Katie! Yes, it’s great for introducing primary and secondary colors and the vocabulary too.
Cute! Fun for kids a little older than mine 🙂
Hi Courtney! I have kids in my class that are 2 1/2 that did this work just fine! For a younger child, you could try only mixing red and yellow and removing all the other items from the work.
This looks like fun! I even think my 9 year old would enjoy it.
Hi Kamie! I had so much fun with this too! Sometimes the simple activites are the most fun!
This is such a great activity! Love it!
Thanks Emily! It is a fun science activity that also teaches something important!
This looks like a fun thing for the kids! All kids love experimenting, right! Lol
Hi Melissa! Yes, hands on experimenting is how they learn best!
This is so neat! My kids would love doing this. Thank you for sharing!
Hi Kourtney! I’m all about making sure the children in my class have fun while learning!
This was always one of our favorite activities in my preschool classrooms. It’s also really fun to float shaving cream on top of a glass jar of water and use eye droppers to make it “rain” different colors through the “clouds”
I love this, my son has always learned best when it was hands on.
Sounds like fun. Could this also be done with food coloring?
Hi Carmen! That’s exactly what this is…a few drops of food coloring and water. The activity kit comes with food coloring so you don’t have to buy any!
Oh my goodness! How fun is this! I know that my kids would definitely love this. But I would also make them wear aprons like you suggested.
Love this! We will have to try it with our kids!
This is much less messy than how I taught my kids. Good thinking!
I’m going to try this with my stepson 🙂 Thank you!!
This looks like a fun learning activity
I love how it comes with everything ready to go 🙂 this would be a great activity for my toddler when she’s a little older 😊
Love this! This looks fun to do with my kids!
My kids are VERY into mixing colors. Excellent activity.